
Last Updated on March 1, 2024
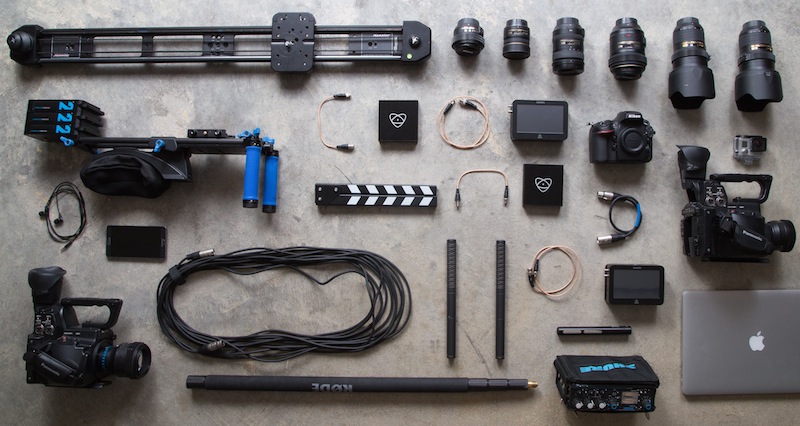
We often assume that for better photos, we need the latest technology, which of course normally comes with a hefty price tag.
However instead of forking out our hard earned cash for new camera accessories or software that allows us to create more interesting pieces, thanks to multiple filters or opportunities for different perspectives, why not find ways to create similar types of images using items that we all have lying around at home. Not only does it save you money but it really allows for those creative juices to flow. Plus, who doesn’t love a spot of DIY?
So here’s a roundup of some creative photography hacks that are not only cheap and cheerful, but can also help when it comes to producing more interesting and professional looking photographs.
1. Make your own lightbox
It may sound complicated but all you need for a home lightbox is a window and a piece of greaseproof paper. Just take a sheet of greaseproof paper and tape it to the window. Having your own lightbox will give your photos a cleaner and more professional look.
Alternatively, you can also create an inexpensive light tent by cutting out large squares on each side of an empty cardboard box. Use a piece of white Bristol board to line the inside of the box and then add white fabric, such as muslin or nylon, to the sides.
2. No tripod?
Nothing will do as much to improve your photography as using a tripod – it helps to keep the camera stable and avoids camera shake, is imperative for macro photography when you are trying to get a really small subject into focus and it also allows more time to compose our picture.
Don’t have a tripod? Take a lampshade off its stand and screw your camera onto the lampshade holder. Alternatively, you could use a pile of books and stack them on the edge of a table.
3. Bokeh shapes
Adding bokeh to your photographs is so easy – you don’t a special camera or lens. Instead cut out a piece of black paper the same size as the front part of your camera lens. Then, in the centre of this piece, use a sharp knife to cut a shape of your choice – the size of this shape should be slightly larger than a thumbnail or about the size of a US nickel or UK five pence piece.
4. Vaseline vignette
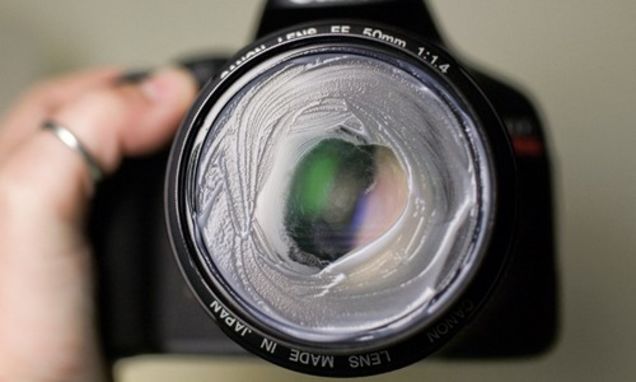
Most people create a vignette effect – which is when the photograph gradually fades into its background without a distinct border – when they get to the editing phase, but this easy hack helps with creating the vintage effect whilst you’re taking the shots. Attach a strip of cling film tightly to the lens hood with an elastic band and smear some Vaseline liberally around the edges of the film.
5. Reduce camera shake with a bean bag
Sometimes to take a great picture, you have to get into an unnatural position – whether that’s lying on the floor, relying on your elbows as camera support, or leaning out of a window when you’re on the move. Neither of these positions are particularly comfortable and more importantly your camera is not secure or very stable, risking blurry images. One way to avoid this is to rest your camera lens on a beanbag. Whilst you could go out and buy one of these, why not make one from an old pair of jeans stitched up and filled with lentils?
Not only will you save yourself money but you will see instant results and eliminate elbow-induced camera shake.
6. Flash diffuser with an empty milk carton
Sometimes it is beneficial to diffuse the flash of your camera to avoid it creating harsh shadows, hot spots or reflections on your subject. Whilst creating some distance between the camera and your subject is one way to avoid this scenario, it is not always successful. One cheap and successful solution is to use the semi-opaque plastic of a milk carton. Simply cut out the carton’s handle and slip it over your flash. Voila, you are left with a cheap and cheerful flash diffuser.
7. Panning time-lapse on the cheap
If you’ve ever wanted to shoot the world at high speed you will have come across time-lapse photography. What’s more, it is now possible to create a moving time-lapse video. This can be a rather tricky and time consuming activity, as it can be difficult to keep your camera or GoPro still for long enough to create a time-lapse video. Whilst you could consider buying a special accessory to do the hard work for you, so long as you have an egg timer at home you don’t need to! Just attach your camera to the egg timer, set a time and allow the camera to move with the timer creating a wonderful time-lapse video.
8. Keep your lenses safe
To avoid your lens getting scratched, damaged or laden with dust, it’s useful to have somewhere to store them when they aren’t in use. Repurpose your drink sleeve as a lens case or make a simple fabric bag.
9. A Small Handheld Mirror
You don’t need a big fancy flash to get great looking portraits – all you need to do is use your camera’s own flash to your advantage and find ways to bounce it off the walls, thus creating more brightness from just one light. Use the reflection from a small handheld mirror to redirect the flash towards a wall, giving you a much softer, fuller and more natural look. You can carry a larger mirror if its acrylic, since its a lightweight option and can redirect larger amounts of light. You can also get these mirrors cut to size to accommodate your needs when you’re more confident using them.
These creative photography hacks just go to show that your own house is a treasure trove of photography equipment and that you don’t need to be spending big bucks to end up with professional looking photography.