
Last Updated on February 27, 2024
There are many different ways to take a picture, shoot a portrait, snap a shot. Whatever you want to call it, there are a variety of techniques to use when capturing the perfect shot. Looking to utilize Mother Nature’s splendour for the right image? Shooting an outdoor portrait gives the photographer even more options. While there is no one way to take the perfect outdoor portrait, there are a few core guidelines to keep in mind.
Finding a Subject
Before you pick your location, you will need to choose your subject. Often, we seek to capture a glimpse of vulnerability—a raw look at the subject. The subject you choose will largely determine the mood conveyed in your portrait.
Choosing a Theme
If there is a theme going on then choosing the right place is crucial. Taking family portraits can be done just about anywhere, but should reflect the subjects’ personalities. The picture’s backdrop, like the subject, conveys another layer of meaning to the photograph. Choose a background that will reflect the subject’s personality. For small children, less outside stimulation may serve a purpose when taking their portraitures.
Have your subjects choose the right clothing for the theme, and pick the best time of day. Lighting can really affect the overall look of the portrait. Another factor is pollution, which changes the color of the light and the camera will catch little particles floating around. The human eye of course, cannot necessarily spot these little annoyances, so pay close attention to the overall hue throughout the shoot.
Camera Fundamentals
As for the fundamentals of the actual camera, here we go! Never use anything less than 70mm or higher, never use auto focus because this only focuses the camera on the closest point and that is not always what you are looking to capture. Do focus on the subjects’ eyes. These are windows into the soul and when it is best focused on, your portraits will be clean, precise and capture the right mood. Do create an atmosphere of fun! When your subjects are happy, it is truly reflected in the final product.
Shooting in RAW
This is essential. Jpeg is opened from a RAW application so starting in RAW is definitely a must. Using a gray card, or using a piece of a gray card that can save a few dollars and hours of work in the long run when you go back to touch up. Recheck the lighting about every 30 minutes by having your subject hold up the card and snap a quick test picture.
Using Additional Equipment
The right tools can prove to be especially helpful to your project. Invest in a sturdy tripod, choose a longer lens, use a light reflector, and experiment with your aperture. For less experienced photographers looking to take some great shots of your kids at the park, aperture is the adjustable opening in the camera lens that limits or allows light to come through. Grab your “how to” manual and learn how to adjust this, as it will make a world of difference. For our experienced photographers, depth of field is what you want and aperture is how you get it! Using the sun to your advantage by never putting it behind your subject is important.
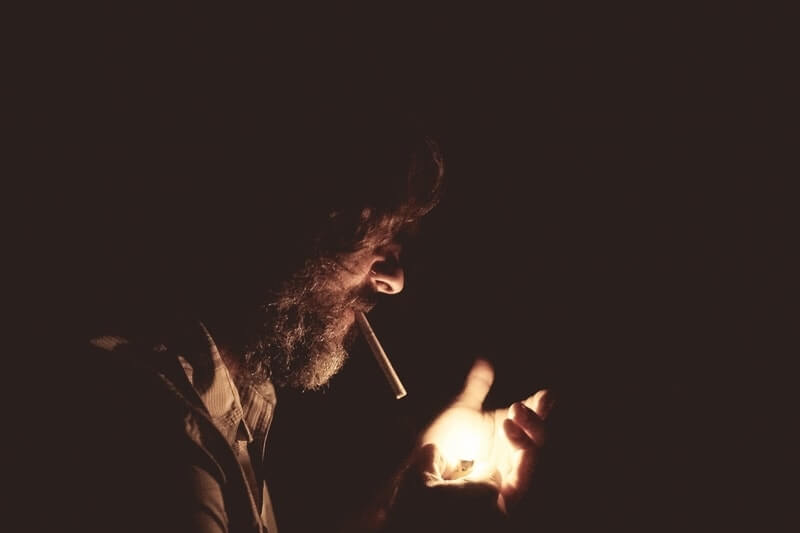
Light. And Shade. And More Light.

Of course, your location is partially dependent on the most important element of outdoor photography: light. Often the best way to tackle light is by not tackling it all. Using shade, or shooting on a cloudy day, will not only assure that people aren’t squinting but will diffuse the light and avoid the prevalence of shadows. Natural light generally offers enough ambient light to illuminate people’s faces without overwhelming them. If it’s still not enough, don’t be afraid of the flash during the day! You need to be close to your subject, though, so that the flash can reach her.
If shade isn’t an option, or if you really want to make use of the sun, consider rim lighting. When the sun is shining brightly behind a subject, it often produces a sort of halo effect, a brilliant rim of lighting around the edges of the subject. This can create a fascinating effect, especially with the model’s hair. The only danger with this technique is that you can turn your subject into a big black blob of nothing, besides a silhouette. To avoid this, set your f-stop for more exposure, which will produce an overexposed, more luminous background.
Your other choice is to simply place your subject away from the sun, which means you’ll have it directly in your own eyes. Never fear. Squinting and shadows will be banished, so you’ll be able to focus on the model’s face.
Location, Location, Location

Sure, you can spend hours driving around to find the ideal spot as a background for your portrait, but why waste the time? Get creative with the environment around you. Maybe it’s the graffitied wall around the corner. Maybe it’s the bright blue door in front of your neighbor’s house. Or maybe it’s the intricate brick work in front of your office. Hone in on the beautiful details in the world around you and use them to inspire the backdrop of your portrait.
Convenience is important, but also considers meaning. Each person is unique, and their portrait location can be, too. Let the background reflect personality. If your subject is a surfer, try the beach. If she’s a chef, use a vegetable garden. An artist? How about a mural painted on the side of a building. Just make sure your location doesn’t distract from or overwhelm your shot. Your subject should be the star, not the location.