
Last Updated on March 2, 2024
When you create a new blog the content will be what sparks initial interest through searches, and eventually keeps readers coming back for more. However, while it is a very important part of establishing yourself as a useful and entertaining site, it is not the only factor. You won’t be able to keep many of your readers long enough to go through that content if the presentation isn’t right.
Layout and themes, organization as well as ease of access and movements – all of those things will dictate whether your blog looks official, or like something slapped together by a spammer. I know I have left sites because they look badly put together. There is too much of a risk of reading stolen content or even gaining malware to risk reading something that doesn’t look like it was made with any professionalism in mind, and other Internet users tend to think in the same way.
Funny enough, one of the biggest turn off’s people cite for blogs is the overall look of it. It isn’t just about being ugly, it is about not having any flare or attitude. While not all blogs that aren’t made with sizzle will look like spam sites, they will look boring. You want to inject a bit of attitude into the whole design, and taking little steps will give you just the right amount of detail to do that.
Web-Safe Fonts

One of the quickest ways to bulk up the wow factor on your blog is through fonts. It might sound simplistic, but the font used on any website can seriously change the final product. Web designers, typographers and artists have known this for years. It can also put your blog ahead of the rest by avoiding the trap of “web-safe fonts.” This is the process of only using a handful of font selections that everyone automatically has installed on their computer.
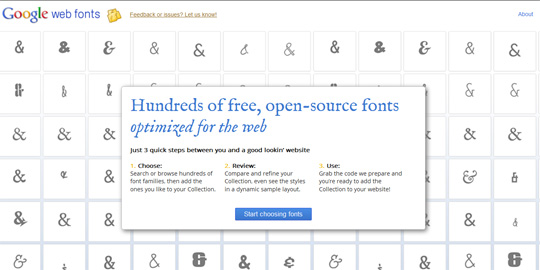
But that is less of an issue now, and no not a solution that you are forced to adhere to. You can get creative, and a good way to do that is using Google’s Font Directory to find something a little more interesting to work with. It operates on an open source format, meaning there are hundreds of fonts you can use for free, and there are some pretty cool ones.
Wordpress Plugin
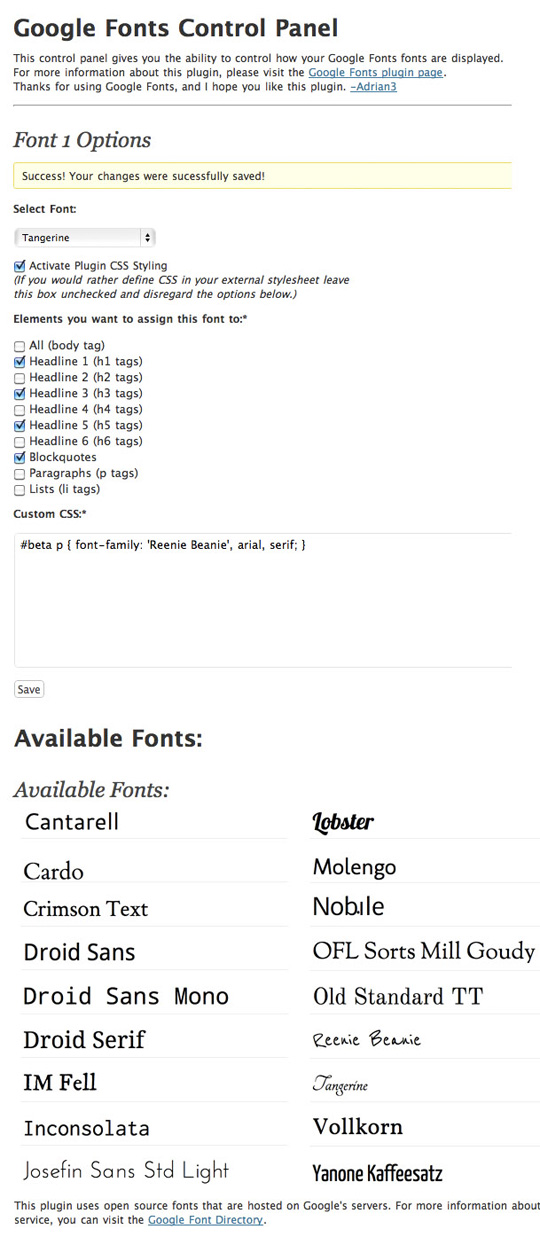
If you have a WordPress blog you can do this in an even more simple way. The plugin WP Google Fonts allows you to access the directory straight through your dashboard and put it into your post or blog template.
To find it, just go to the Plugins section of your blog and select ‘Add New’. From there you can search for Google Font and it will open the download widget right in your blog. Select ‘Install Now’, and once it is done installing hit ‘Activate Plugin’.
There are two things I love about the WP Google Fonts Plugin. First, it is the ease of installation. You don’t have to put in any source code like the old format for plugins on WordPress. Second, is the ease of use. There is no HTML or coding necessary for inserting the available fonts into a post. You just select all you need from the drop down under Settings>Google Font, and it will take care of it for you in the HTML box. The visual will just show the font.
One thing you need to be wary of is the look of some of the fonts. Most are completely fine for blog use, but others can be a little hard to read. Make sure that you do an appropriate preview of any font you decide to use in order to make sure others will be able to make it out. Anything too big and dark, without a proper background or spacing, can run together. Anything too small can be difficult to see.
Thankfully, most are completely useable for websites without any special considerations. So get the plugin and start experimenting. Your blog deserves an attitude adjustment.
We hope you found the article above useful. We would love to hear your feedback regarding Google Web Fonts, so please don’t hesitate to comment below! For more useful articles like this please don’t forget to subscribe to the RSS-feed and follow Inspirationfeed on Twitter + Facebook ! If you enjoyed the following article we humbly ask you to comment, and help us spread the word!