
Last Updated on February 21, 2024
There are 2 sample ways to replace the sky in Photoshop.
The 1st way is perfectly suitable for beginning photographers and designers. By applying Photoshop overlays, you will receive bright and a professionally looking photo in a few clicks.
The 2nd way allows you to replace the sky in Photoshop manually by using various filters and tools. You can fully control the process and the final result will depend on your skills.
BONUS: Free Photoshop Sky Overlays
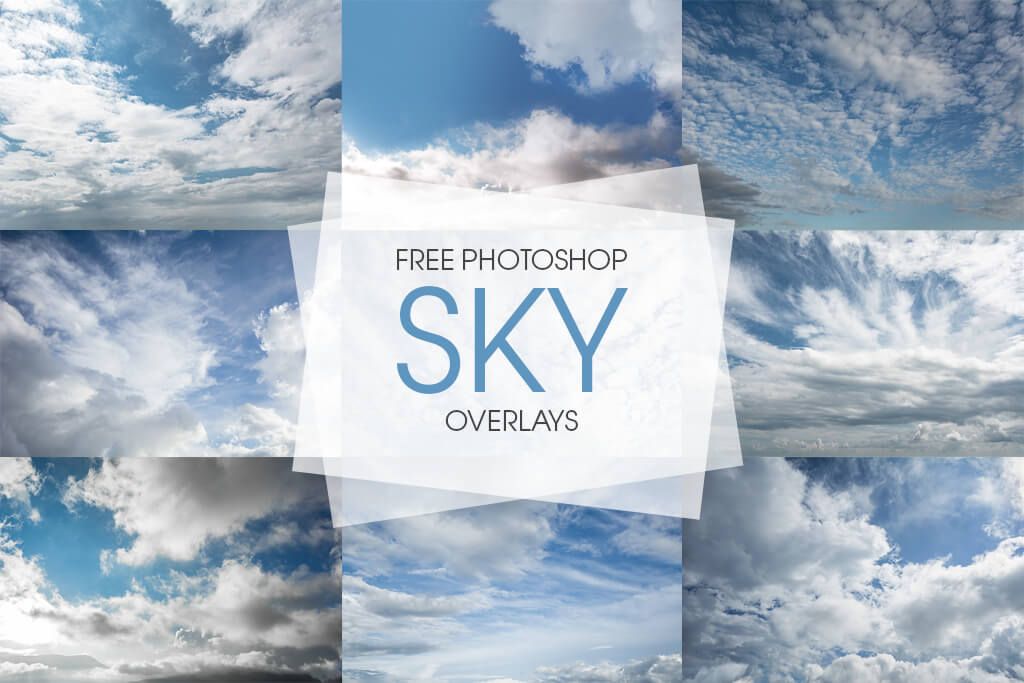
All overlays from this collection can give a warm feel to your photos, make the sky stormy or bring out a stunning effect of setting sun. By using this set that consists of 10 overlays, you can add the blue sky with 3D white clouds, cloudless spring or summer sky, add gray rain clouds to the dark sky and use other options, depending on the style of your photo and a feeling that you want to convey.
Way 1 – Replacing the Sky in Photo: Using Photoshop Overlays
With the help of Photoshop sky overlays, you can quickly transform your photos. If you are wondering how to replace the sky in Photoshop, add mesmerizing sun flecks to your photo or change the overcast sky, download the Photoshop overlays above. They are suitable for any photography genre, including street, landscape, portrait, wedding and other outdoor photos.
Each overlay can be applied to photos in JPEG and RAW file formats. They can be used in Adobe Photoshop CS3, CS4, CS5, CS6, and CC.
How to Install and Use Photoshop Overlays?
- Open an image, you want to apply an overlay effect to.
- Open the selected overlay by choosing File > Open.
- Change the size of the overlay so that it fits the image you want to edit by choosing Image > Image size.
- Copy the overlay and apply it to your image by choosing Select > All and then click on Edit > Copy.
- Switch to your main image and choose Edit > Paste.
- Use a blending mode to control how pixels on the screen will be affected.
- Adjust layer opacity for further editing your overlay effect.
- Use the Eraser tool or a mask with a soft brush to edit any part of a photo.
- Merge layers.
If you are interested in landscape photography and want to make the sky perfect, just apply these overlays to achieve amazing results.
Way 2 – Replacing the Sky in Photo Manually in Photoshop

To replace the sky in a photo in Adobe Photoshop, make sure to check if you have installed this software on your PC. Then, you need to prepare a photo for editing.
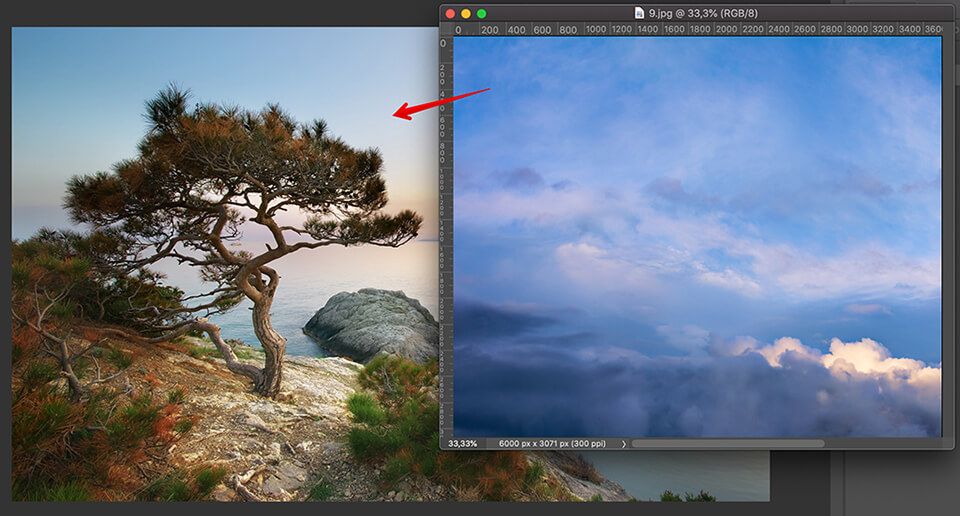
Step 1. Open a Photo
In Photoshop, choose File > Open and find a photo that you need to edit. For better results, try enhancing a landscape or architecture photo.
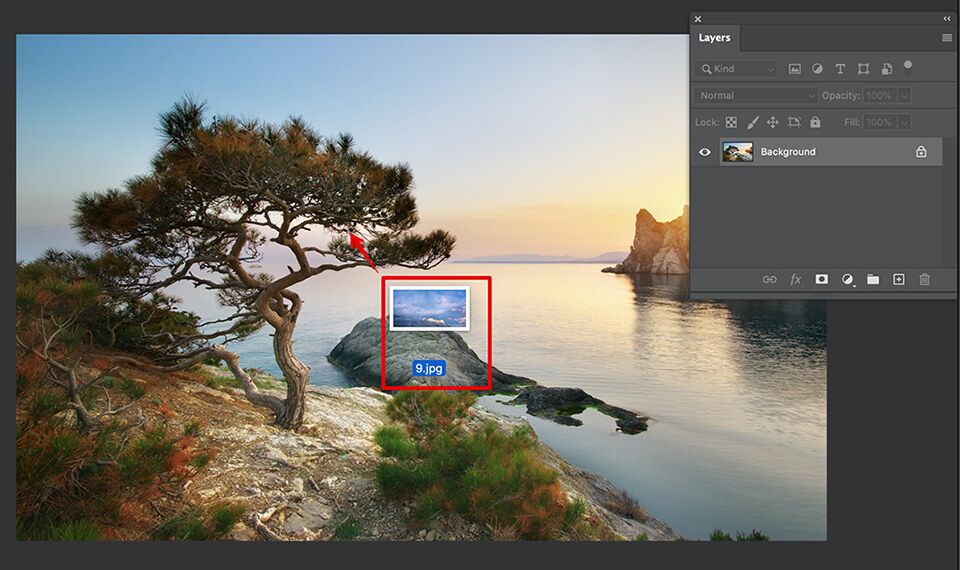
Step 2. Drag Background Layer
Drag the background layer from the image of the sky to your main image. It will appear on the top of the layer list.
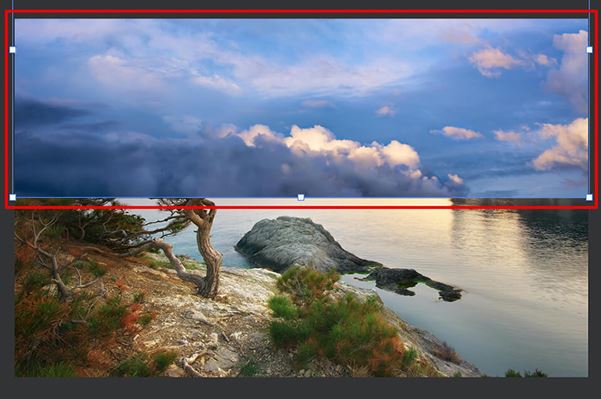
Step 3. Change Layer Size
Move and resize the sky layer so that it fully covers the area that you want to edit.
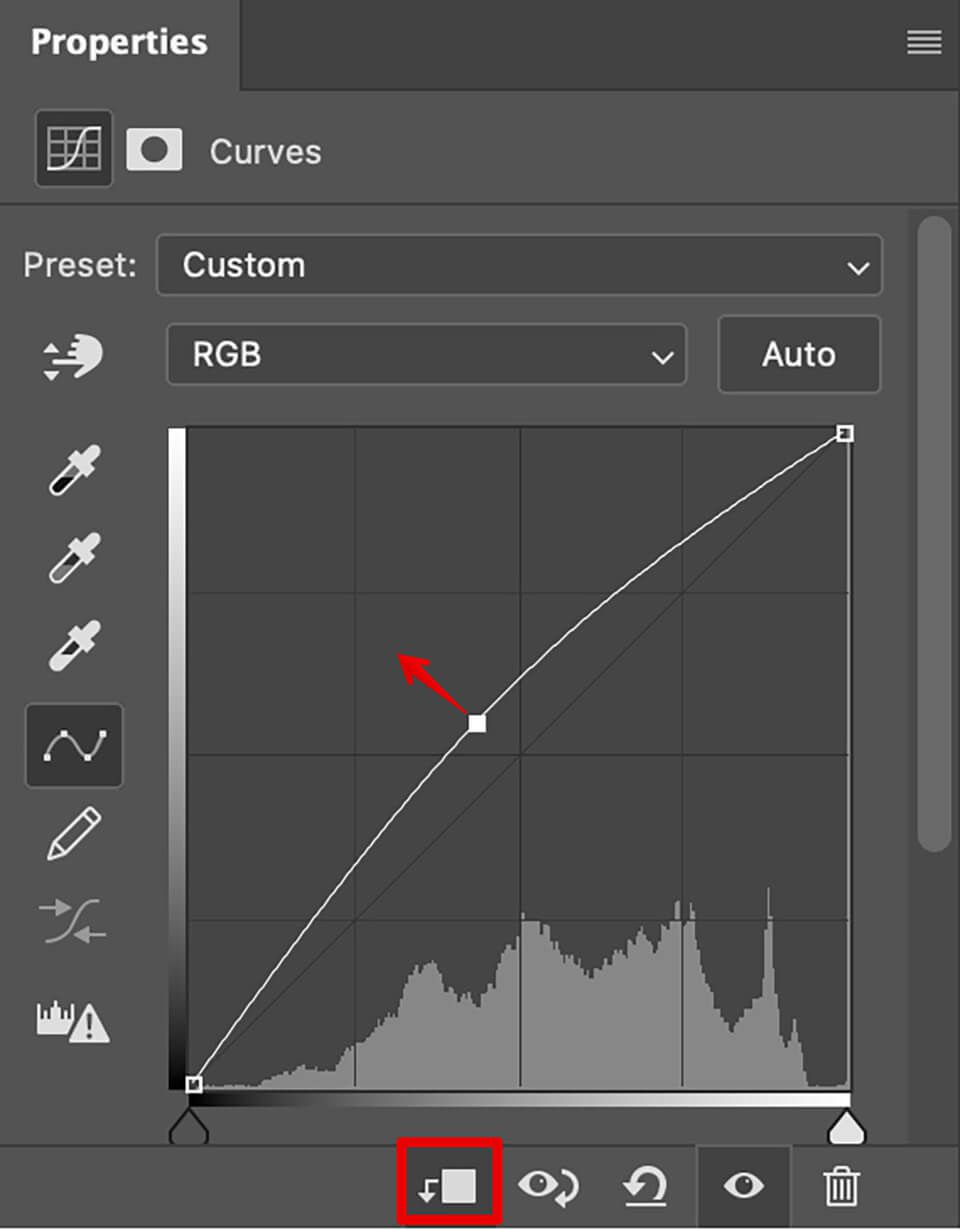
If you add sky in Photoshop and it seems to light or too dark for your image, try using the available tools to change it. For instance, you can use Curves to make it lighter. This way, your image will look more natural.
Step 4. Use Blend If
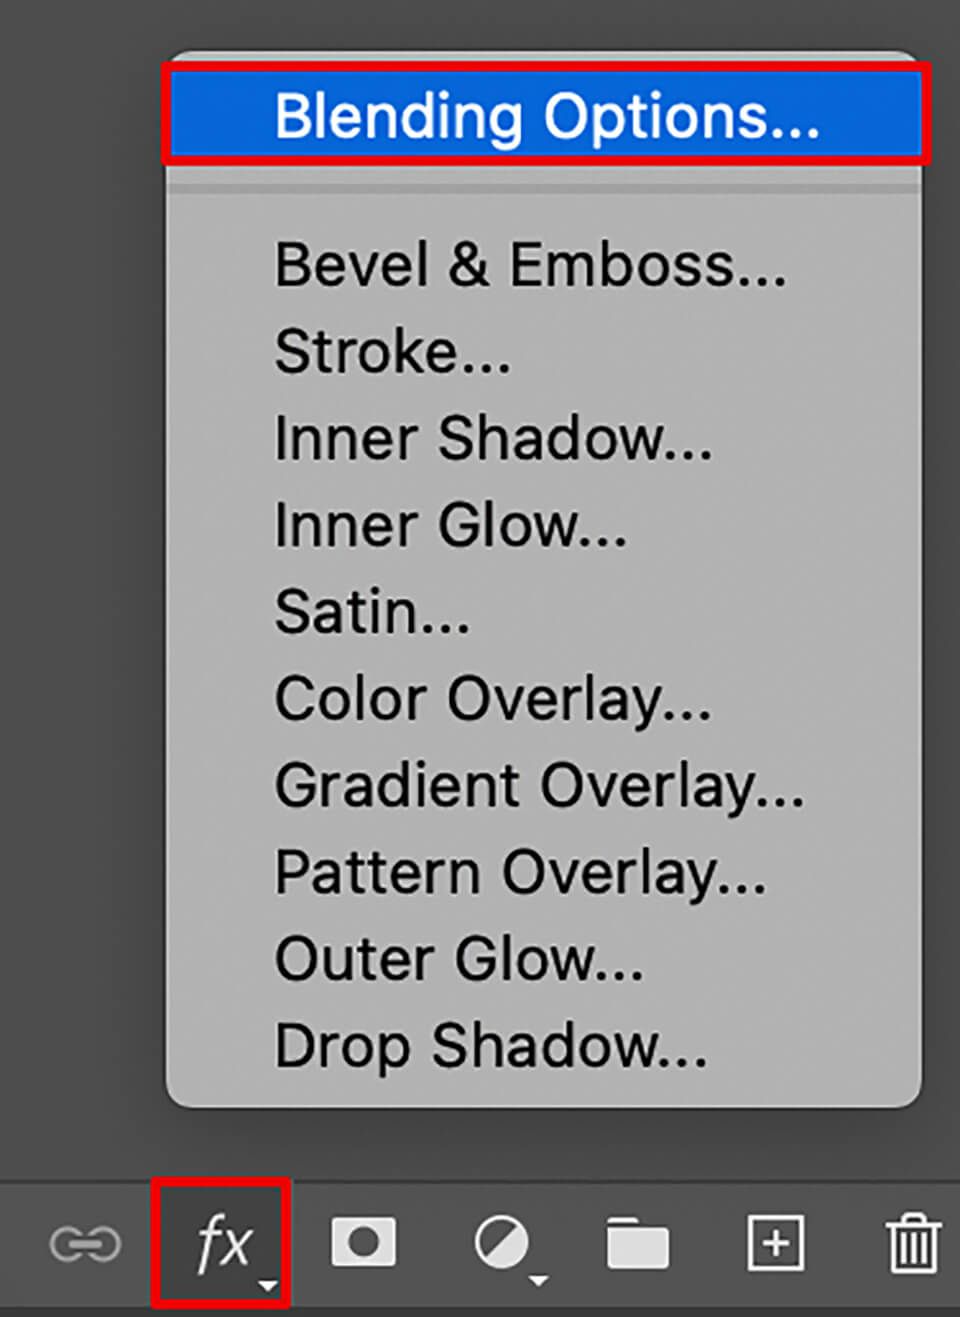
Click on the sky layer to select it and then choose the option that allows you to add a layer style. You can find it in the bottom part of the Layer Palette context menu. Then choose Blending modes and find the Layer Styles menu.
At the bottom of Layer Styles, you will find Blend If options. You can use them to blend your current layer with an underlying one. To do it, drag the slider in the top left corner of the Basic Layer menu to the right, almost until it reaches the end.
When you do it, the underlying layer will become visible in all the areas of your image but for the light-colored ones.
Step 5. Smoothen the Transition
![]()
To smoothen the transition between the sky and the rest of the image, hold the Alt key and drag half of the slider aside to split it into two parts. Then slide them apart to separate.
The area to the left will show 100%, while the in-between area will show where the effect goes from 0% to 100%. Once you have reached the desired result, click OK.
Step 6. Use a Mask Layer
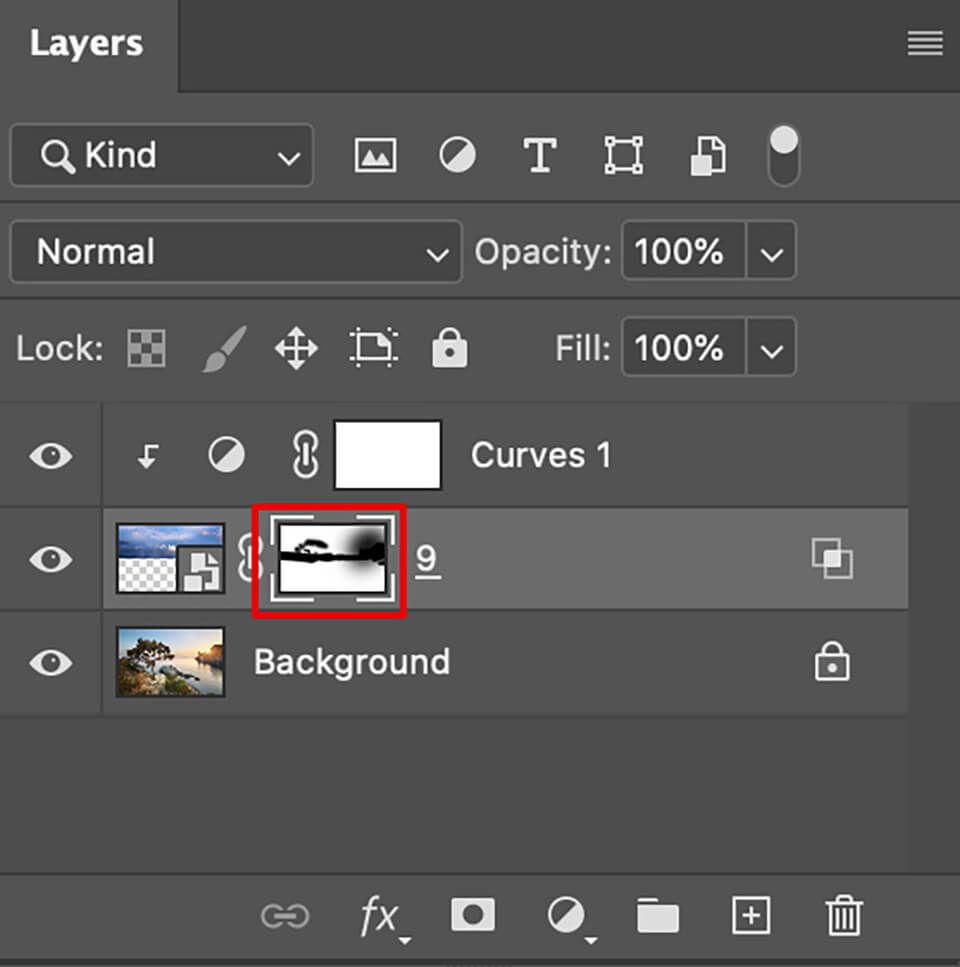
When you are learning how to replace the sky in Photoshop, it’s impossible to avoid some mistakes when overlapping images. If the sky overlaps with certain parts of the input image where it doesn’t need to, you can either drag the sky higher or use the mask layer.
After selecting the sky layer, click on the Add mask layer icon in the bottom part of the Layer Palette. Then, add black to the layer mask to make the underlying image visible.
Step 7. Intensify the Colors
Now, that you have found the perfect position for your effect and ensured that the sky is where it needs to be, it’s time to take a closer look at your image and decide how to enhance it even further. You will probably need to adjust colors and the brightness of the sky layer by using the Curves tool.
In some cases, when you add sky in Photoshop, you might see a halo effect around leaves and tree branches or around the contours of the buildings where two images blend. You can remove it with the help of the Opacity tool by using the low-opacity brush and adjusting either Midtones or Shadows in the Range menu, depending on your needs.
Congratulations, you have done it! It’s easy to replace the sky in your photo by using selection tools, layer masks, and the Blend If sliders in Photoshop. If you don’t want to spend too much time editing but need to get professionally enhanced pictures, you can use the image manipulation online service and pay several dollars per photo.