
Last Updated on February 22, 2024
It’s finally time for the big move. You’re so excited –– you were looking forward to your dream house for years. However, there’s one thing that still pulls at your heartstrings: the garden. You’ve spent so much time caring, watering, pruning, and wiping dust off of these plants that just leaving them there seems almost unfathomable.
Well, we love being the bearers of good news. Did you know that you absolutely don’t have to let them go? And it’s not even that hard to take them with you. Here’s a simple guide to moving your plants to your new home.
Picking the right time
Regardless of what kind of plant you’re trying to move, the season of the year is always a factor. It’s always best to avoid the peak of summer or the middle of winter if you can. Mild temperatures are best and can prevent sun damage as well as unnecessary dryness to the roots. Of course, it’s not always possible to change a moving date, so there are other things you can do to make sure your plants are in the best condition.
Preparing for transportation
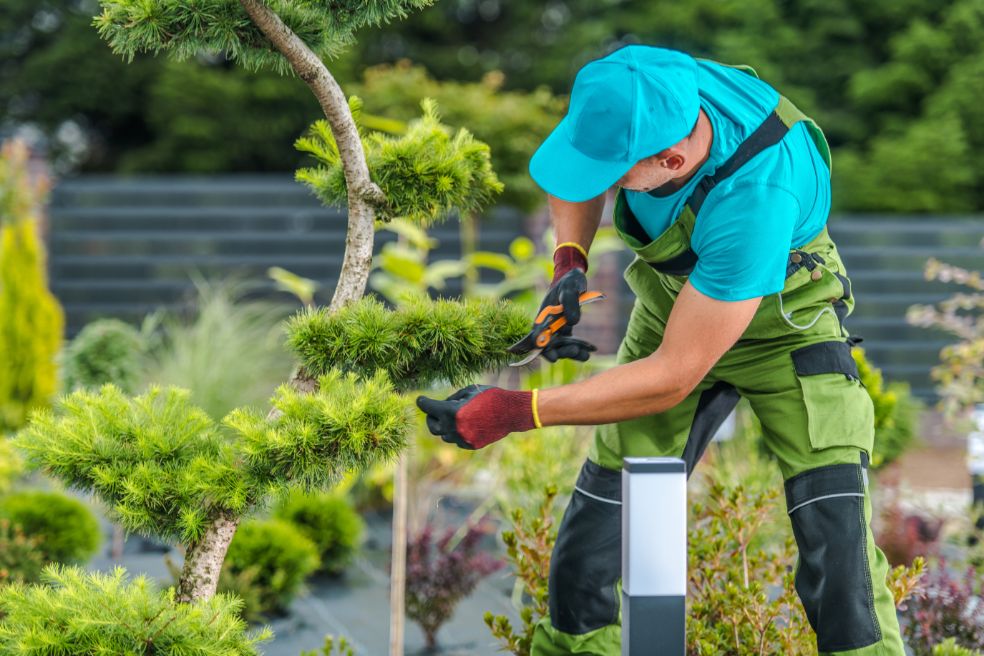
To steer clear of making any rash moves, try to be realistic as to how much you can actually take with you, as you probably won’t be able to transport your entire garden. When you’ve carefully considered what’s moving with you, make sure your plants are healthy by pruning any dead stems or foliage.
If you’ve chosen any potless plants, dig a ring around the stem, circumventing the roots. In some larger plants, you might need to dig about 6 inches deep, so take your time to make sure you don’t damage any long, established roots. Once that’s done, use a larger shovel to pop the plant out, and keep as much of the soil on the root for protection.
Packaging your plants
Whether you’re taking a potted plant or not, the main concern with transporting flora is having it dry out. To avoid unnecessarily parched plants, water them 4-6 hours before packaging.
If there’s no flowerpot, once the roots have absorbed the moisture, wrap them in moist paper towels or an old newspaper and cover in cling film, leaving the top half and leaves exposed. When you pack them, use a strong box that’s roughly the same size as your plant, so it doesn’t move too much during transportation. Use scrunched-up newspaper or similar to ensure your plant stays in place in any larger boxes.
Transporting your plants

If you’re using a moving company, it might be useful to ask them whether they have the capacity to transport your plants too. If you opt for that way, make sure the plants are the first thing to get unloaded and that they’re well-balanced and cushioned in the van so as to avoid shakes and bumps.
However, it might be worthwhile to consider a specific delivery service to make sure your plants are intact and to reduce stress. Some couriers, such as CitySprint, offer to pick up within the hour as part of its same-day service, ensuring that your plants go straight from your old house, ready to be planted in your new garden.
Replanting your plants
Congratulations, your plants have safely arrived at their new home! In order to guarantee their continued health and prosperity, time is of the essence –– you want to replant them as soon as they reach their destination. For that reason, it’s always helpful to prepare the ground. Plan where you want them and ensure the area is completely free of weeds, enriching the soil with any compost, peat moss, or similar.
Then dig the holes for your plants, water the trenches, place the plants in them, and top off with soil, making sure it’s solid but not too tightly packed. Shower the leaves and snip off any broken branches to give them the right start. They might need some extra TLC for the next few days, so cover them if they’re in direct sunlight, and water them regularly –– preferably during the cooler times of the day –– if they need it, especially if they look droopy.
That’s it, you’ve managed to move your precious garden and complete your new home. Seeing as a nice garden adds up around 20% to the value of a property, it’s usually worth the effort in the long run.