
Last Updated on March 3, 2024
In this post, you will learn how to create custom screen recordings for your blog posts. Since consuming visual content keeps readers engaged and helps them retain the information about a topic better, it’s a great tool to increase the virality of your post.
Instead of telling people how to do things, show them!
Below are ways on how you can record the best screen recordings to complement your blog post:
Choose a Screen Recorder
Screen recording is a powerful way to share any information that you have on your screen with your viewers.
One benefit of screen recording software like CloudApp is if you can see it, you can capture it. This includes presenting information on powerpoints, spreadsheets, webpages, etc.
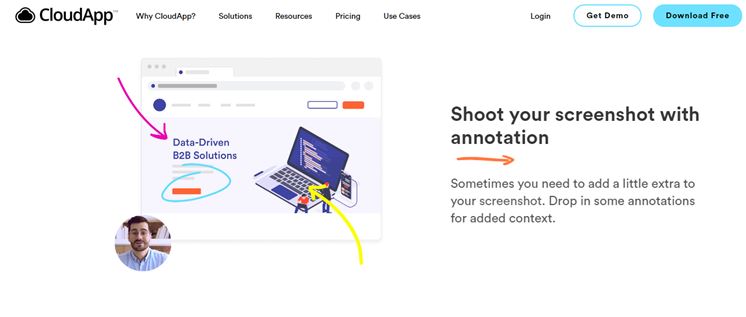
Not only do they capture the information on the screen, but they also capture actions you take while you’re recording. You also have the ability to integrate your webcam into the recording.
The downside of capturing everything on your screen is anytime there’s a notification, pop-up, or anything else you don’t want seen like a messy desktop, it will also show that in the recording. Therefore, before you record, take some time to clean up your desktop. Turn off notifications and block pop-ups using adblockers.
Another option is to just screen record a fixed area of the screen. That way you can avoid areas where you know notifications show up. That’s a better option if you aren’t going to be flipping between screens. For example, if you are going through slides of a presentation, the presentation area is going to be static. This doesn’t solve the problem of the alert sounds if you are also recording audio so take the extra step of muting all notification sounds during your recording.
Plan Ahead of Time
It’s common for people to run out of words to say or get their thoughts cut off in the middle of a sentence. If you don’t have a script you are working off of or at least an outline you are much more likely to stumble and use lots of filler words, go off on tangents, etc.
Because it’s easy to get lost inside of your own head during recording, you need to plan ahead to minimize errors. You need to write an outline, script, or something to guide you through your process. This way, you can structure your videos and make them flow much better.
Also, pause your videos frequently. This way, whenever you make a mistake during recording, you can make a mental course correction if you don’t have the time or desire to do a new take. This is especially important if you have long sections of tedious work that don’t need to be shown on screen or it is a longer video that would be time-intensive to start over.
Get the Right Length for Your Video
There’s a burning question out there everyone is asking: how long should my screen recording be?
To be honest, there’s no hard and fast rule here. What’s important is you cover the important parts most relevant to the topic and viewers of your recording regardless of how long it takes. Cut out filler. You will be most tempted to add wasted time and the beginning or end. Get to the point and have a clean break at the end. Your viewers are more likely to come back for new content if you respect their time.
To help you at least get an idea on how long your recording should be, go to Youtube and search for videos about the same topic. Choose the best and most popular videos and determine which subtopics the presenter covered about the topic.
By doing this, you can create a video that’s within the average length of the videos published online. At the same time, you strategize how to cover gaps of content in important subtopics that other recordings don’t cover.
Get a Microphone

One of the things that make a big difference in the quality of your recording is the audio. And since you want people to understand what you’re saying along with the visuals, you need to invest in better equipment to get better sound quality.
In this case, earphone microphones won’t cut it. You need to invest in a podcast or professional microphone for recording to ensure the success of your videos. It helps capture your voice clearly and cut down the background and static noise.
Serious content creators understand that your computer’s built-in microphone isn’t going to cut it.
Get the Video Dimensions Right
If you intend on uploading the video on Youtube, you need to know the best dimensions for your recordings. It’s possible to have black bars on the sides of the video if the dimensions of your recording are incorrect. You don’t want that, it looks unprofessional and is a bad look for your brand.
Below are the currently accepted dimensions on Youtube:
- 426 x 240 (240p) (minimum)
- 640 x 360 (360p)
- 854 x 480 (480p)
- 1280 x 720 (720p)
- 1920 x 1080 (1080p)
- 2560 x 1440 (1440p)
- 3840 x 2160 (2160p) (maximum)
A video with much larger dimensions has a bigger file size and will take longer to upload as opposed to the rest. But if you want clarity in your videos, setting your recorder to the maximum dimensions in the way to go.
Keep in mind that this is just Youtube we’re talking about. If you plan to upload the video on other platforms like Facebook, Twitter, on Vimeo, you may need to readjust their dimensions to optimize them for public viewing. Here’s a reference for the exact dimensions for each platform.
Use a Webcam
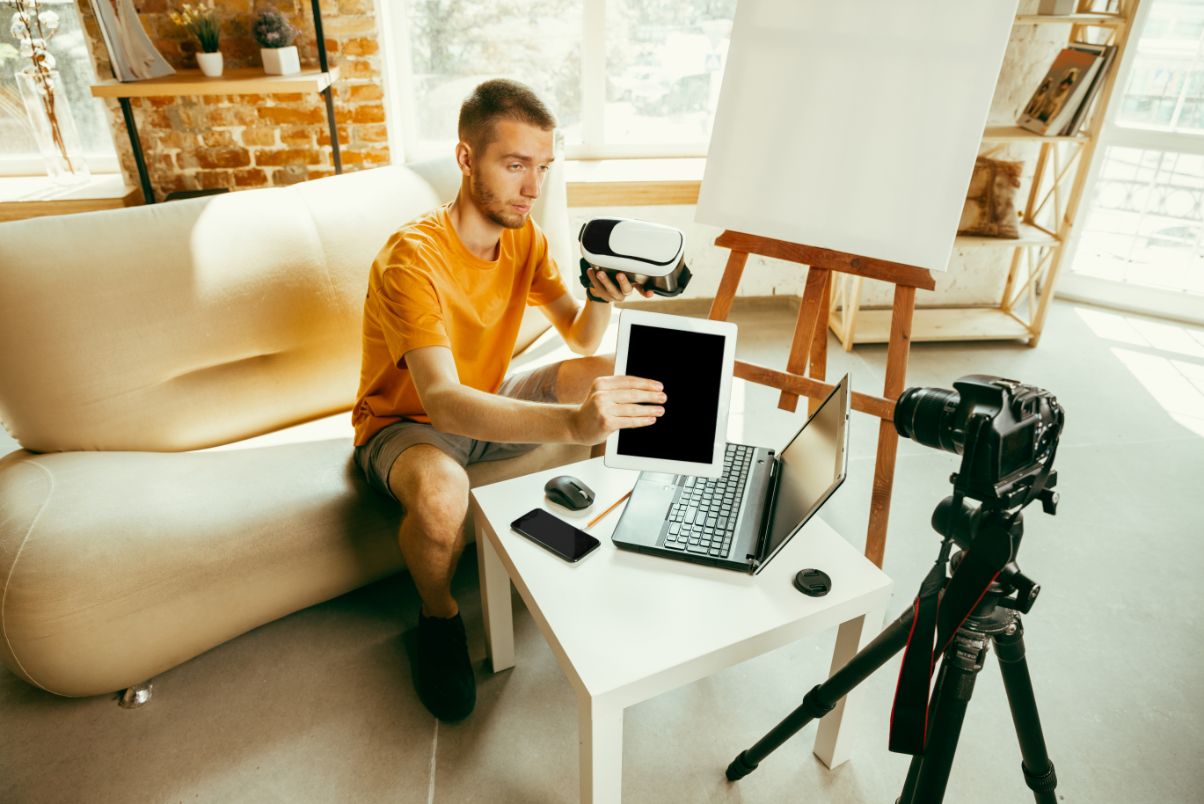
If you plan on recording yourself, you are going to get the highest quality video with a professional camera, but unlike audio, most laptops’ built-in camera is going to be sufficiently high quality. However, if you’re looking for high-quality video recordings that are “agency quality” of you and your surroundings, you can’t beat what DSLRs bring to the table.
It’s an investment for sure, so probably start with your webcam and if your viewership warrants it, buying a high-end camera may be well worth it. Most people recognize the difference between webcam quality and a DSLR right away, and you’ll be taken more seriously but you still need to deliver on the content side.
Below are the best practices when recording yourself on video:
- Make eye contact with the camera as if you’re looking at your audience. This helps build credibility and trust among viewers.
- If you are getting a testimonial or doing an interview, have the person look off-screen.
- Get the camera angle right and take lighting into consideration. Take test recordings to see how you can improve the positioning of the camera and remove distracting shadows.
- Clean up the background of the shot. Find a wall in your home or studio that you can use as the video’s background the projects your brand’s values. If you’re at home, set up your camera in your office to show to viewers where you work if you want something less formal. A sterile background is going to project a more polished look.
Move your Mouse with Purpose
Most screen capture tools allow you to show your mouse as it moves on the screen. This is helpful if you’re recording a how-to or walkthrough video of using a software. This way, people know where to click or move their mouse to achieve the same effect you’re showing in the video.
For other types of screen recordings, you can do away with capturing your mouse cursor as it could serve as a distraction. Every aspect of your video is an extension of you and your competency. If you get the details right, you are more likely to get bigger aspects of the video correct as well.
Edit your videos before publishing
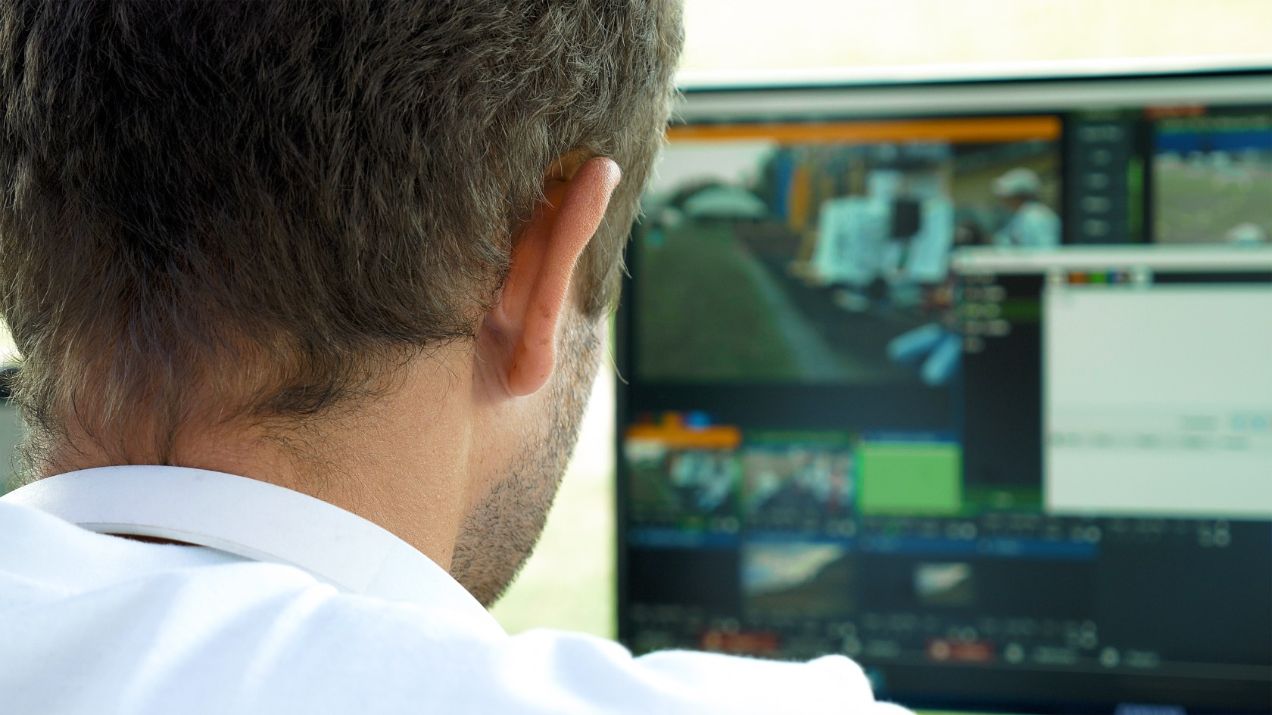
Video production doesn’t end with the recording. Like a movie, a lot of the work to finalize your video should happen on the cutting room floor. Editing is a necessary skill to learn if you want to take your videos to the next level.
The exception to that rule might be screen capture videos. Editing may not be as vital considering that most videos of this type are walkthroughs and how-to content. What’s more important with screen recordings is the actual content – people gloss over minor mistakes if the information focuses on technical implementation that they can’t find anywhere else.
For a video featuring people, however, you may want to learn techniques on sprucing the presentation up through editing.
Below are the best tips beginners should follow:
- Make the transitions as seamless as possible. Consider what effects you use to transition between cuts. Err on the side of minimal effects. No one is going to be impressed by your knowledge of overproduced animated transitions unless your content is geared toward kids.
- Since you have searched out tips from us, you most likely won’t have multiple cameras. Use multiple takes and splice them together during the editing process to create the illusion of having a fancier setup than you really do. Cutting the audio out on footage you don’t use can be repurposed as B-roll in the future.
- Not really an editing tip, but it’s best to follow the 321 rule – save three copies of your work, two of which are in two different places (off-site or cloud and physical drive). This eliminates the possibility of losing your work if you made a critical mistake or your computer crashes down on you. It also means you can go back to the raw footage if you decide to take a different tack with your video.