Last Updated on March 2, 2024
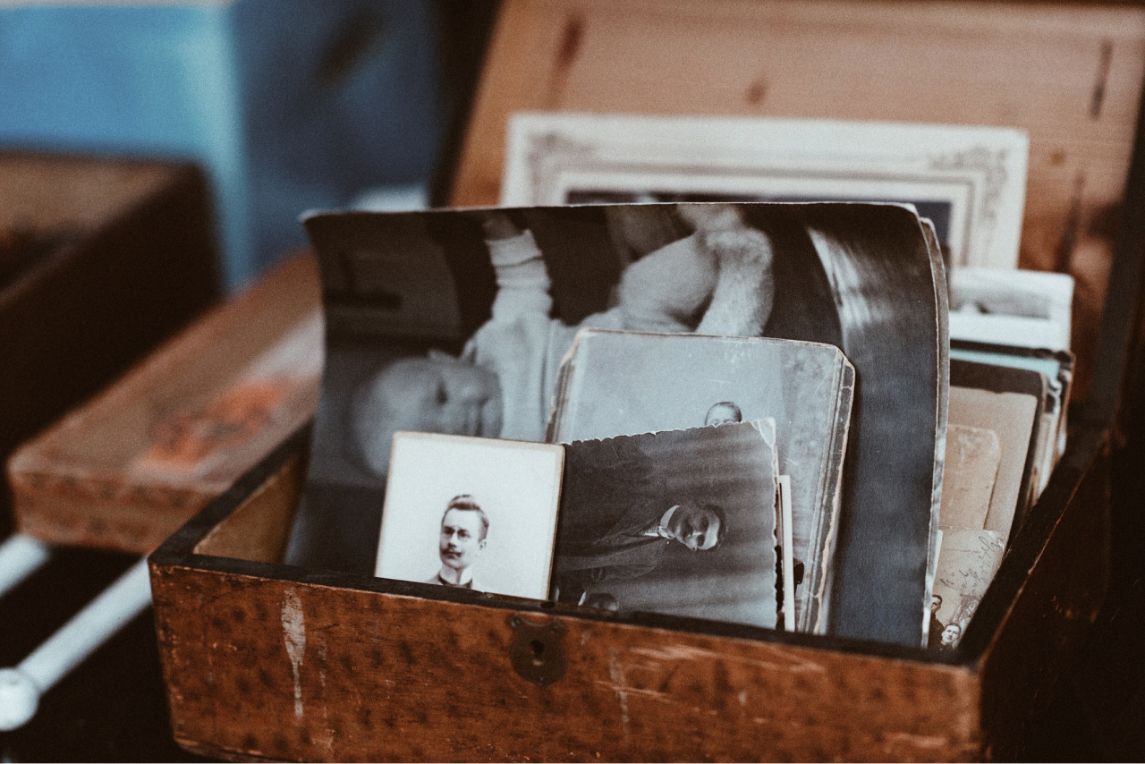
Old photos hold immense sentimental value, but they are also delicate and prone to deterioration. If you wish to safeguard these precious remnants of the past from the ravages of time and mishandling, you’re in luck. Not only can you halt the aging process of your old pictures, but you can even reverse it. In this article, we will cover basic digital approaches and manual techniques. But if you want to know more, follow the link and read a more in-depth guide on how to restore old photos. So, without further delay, let’s delve into how you can rescue your photo collection from the brink of desolation.
Manual Restoration
Restoring old photographs by hand may appear intimidating at first, but the process is actually quite manageable. By adhering to a few straightforward steps, you’ll be able to effortlessly retouch your cherished photos and preserve memories.
Cleaning
The first step in restoring an old photo is to clean. Use a soft brush to gently remove any loose dust or residue. Avoid using water or chemicals, as they can damage the photo. Once cleaned, you can place the photo in an acid-free, archival-quality sleeve or container to protect it from further deterioration.
Repairing Tears
If the old photo has tears or rips, you can manually repair them using tape. Carefully align the torn edges and apply a thin strip of tape with a gentle, even pressure. Make sure the tape is acid-free and won’t cause further damage to the photo.
Removing Stains
Over time, old photos can develop stains. To remove these imperfections, you can try using a soft eraser or a cotton swab lightly moistened with distilled water to gently dab at the stains. Be cautious and perform a test on a small, inconspicuous area first to ensure that the water does not cause any adverse effects.
Now you know how to restore old pictures in three easy ways. By employing these manual restoration techniques, you can revive old photos without the need for retouching. Remember to handle the photos with care, and work in a clean and dust-free environment.
Digital Restoration
If you feel that manual restoration is not within your skill set yet, there is always the digital approach. There are an abundance of user-friendly programs available, suitable for individuals of all ages and skill levels.

Choose Software
There are several photo restoration software options available, both free and paid. Some popular choices include Adobe Photoshop, PhotoGlory, and DxO PhotoLab. Research and select a software that suits your needs and budget.
Scan the Old Photos
Use a scanner or a high-resolution camera to create digital copies of the old photos. Ensure that the scans are of high quality and capture as much detail as possible. Save the scanned images in a format that is compatible with the restoration software you have chosen.
Open the Photos in the Software
Launch the photo restoration software and open the scanned images. Familiarize yourself with the software’s interface and tools. Many software programs have specific features and filters designed for photo restoration.
Restore the Photos
Depending on the condition of the old photos, you can utilize various tools and techniques provided by the software to restore them. Some common restoration techniques include reducing noise, adjusting brightness and contrast, removing scratches and dust, and repairing tears or rips. Experiment with different tools and settings to achieve the desired results.
Save and Export
Once you are satisfied with the restoration work, save the edited photos in a high-quality format, such as TIFF or PNG. It is advisable to keep the original scans of the old photos as well.
It’s important to note that photo restoration software can vary in complexity, and the restoration process may require some learning and practice. If you are new to photo restoration, consider referring to tutorials or seeking guidance from online communities or forums dedicated to photo editing and restoration.
Professional Restoration

At times, seeking external assistance can prove to be the optimal way to restore old faded photos. So, consider reaching out to a local photo studio that specializes in this type of service. It is crucial to select the most skilled retoucher possible, as you will be entrusting them with the only physical copies of your precious images.
Alternatively, you can enlist the help of someone to touch up your digital images. This way, you can avoid sharing the last remaining copies of your photos. You have the option of utilizing an online service or hiring a freelance professional, depending on your specific needs and budgetary considerations.
Speaking of budget, it’s unfortunate that photo restoration services can often come with a hefty price tag, which may not be suitable for everyone. Another potential drawback is that entrusting your family’s cherished memories to unfamiliar individuals means that your photos may be exposed to people you do not know. It is essential to carefully evaluate whether these factors are acceptable to you.
Despite these downsides, this method of restoring old photos remains a viable option, particularly for individuals who possess limited retouching skills or find themselves pressed for time.
Now you are equipped with different methods to restore your old damaged photos, but choosing the right approach can still be challenging. If you lack experience, time, or the inclination to restore old images yourself, it is advisable to enlist the help of a professional. On the other hand, if you have reservations about relying on technology and prefer a hands-on approach, manual restoration may be the best choice for you. Regardless of the path you choose, rest assured that you are making the right choice by preserving and keeping your cherished memories alive.