Last Updated on February 27, 2024
Have you just had a great trip and want to share and relive some of those memories with your family, friends, or subscribers? Maybe you want to map out all of the places that you’re going to visit on your next vacation? Either way, there’s a creative way to show off your travel adventures by generating a map animation!
What is an Animated Travel Map?
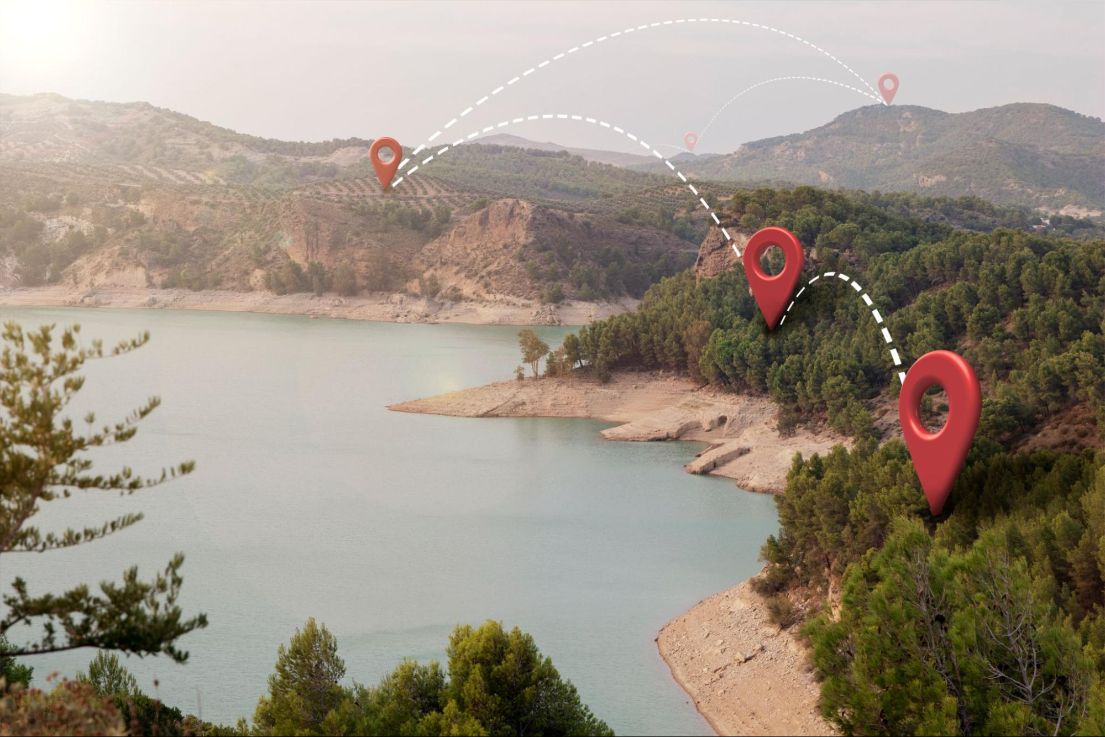
An animated travel map usually appears as a video in which your favorite moments from a trip (landmarks you visited, places you went, foods you tried, etc.) are attached to a map in the background. It also typically has animated pathways, vehicle icons, and other travel-related content.
How to Create an Animated Map: A Step-by-Step Guide
In this post, you will find out how to make an animated travel map on your computer. For this purpose, we will be using SmartSHOW 3D, a slideshow and animated map maker. It comes with a user-friendly drag&drop workflow, dozens of handy features, a built-in music library, over 700 design templates & effects, and much more. Without further ado, let’s get started!
Step 1. Gather Your Travel Photos
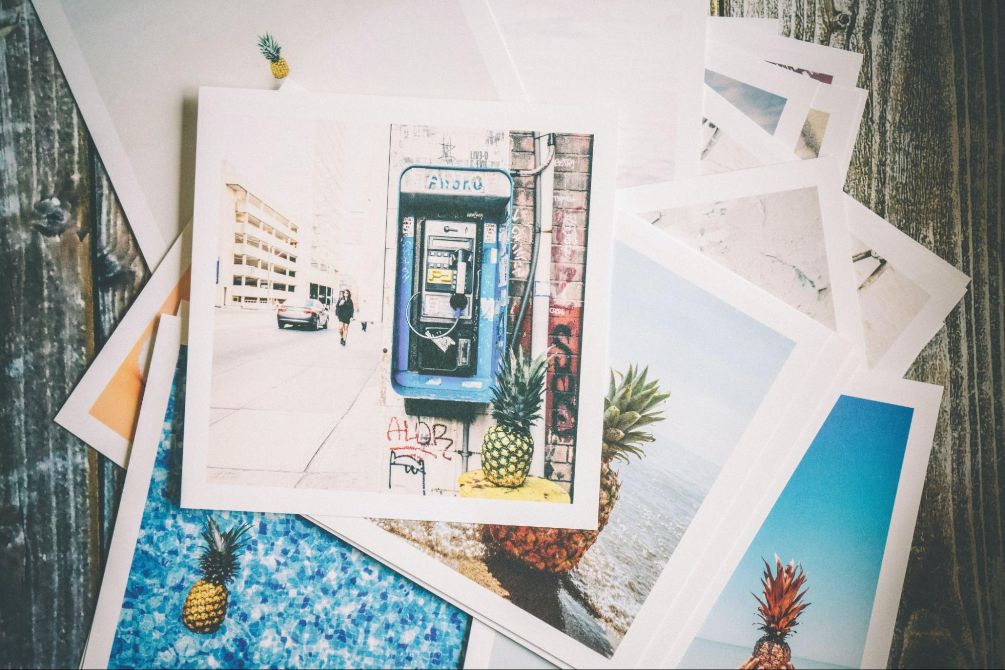
First things first, you will need a collection of your travel photos or pictures of places you plan to visit. Organize them in a folder on your computer so that they are easily accessible. Make sure you have a good variety of images from different locations to make your map more interesting.
Step 2. Download the Program
Now, you need to install SmartSHOW 3D on your computer. You can find the software’s installation package on the official website. Just follow the instructions of the installation wizard. Then launch the program and create a blank project to begin.
Step 3. Create an Animated Travel Map
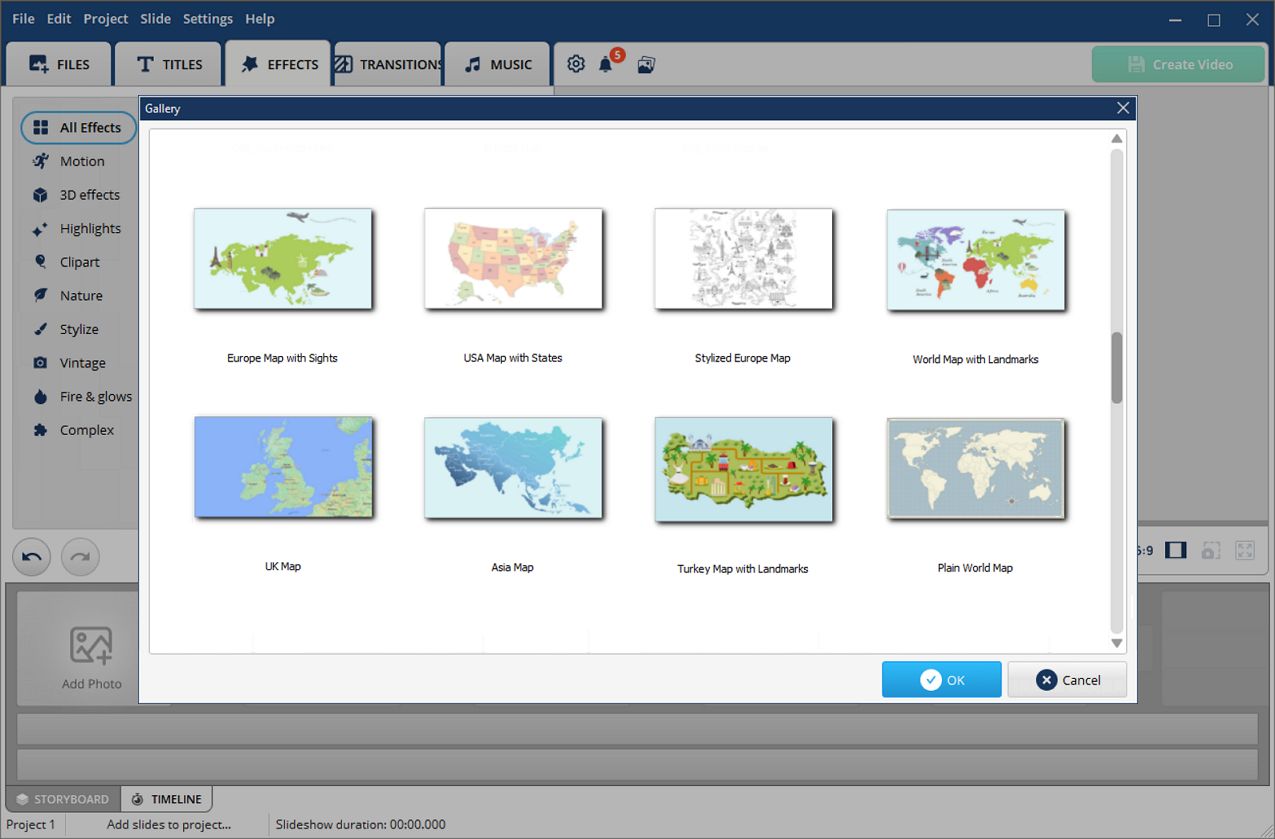
Go to the Effects tab and choose Travel Map. In the window that pops up, pick a map from the built-in collection of over 40 countries and regions, or upload the one you need using the From File button. Use your mouse wheel to change the map scale if necessary, and hit Next. Build your route by double-clicking the map and adding markers.
Step 4. Customize Your Map

Now it’s time to add your travel photos to the project and play with animations. Pair each marker with a matching location photo. When the vehicle icon reaches the marker, the image will appear next to the marker. You can also customize the route image and the vehicle – a car, bus, plane, train, or boat. Depending on the distance to each location, you can adjust your vehicle speed to make it more realistic. You can also improve the look of your map by changing the design of the marker icons.
Step 5. Make Final Adjustments
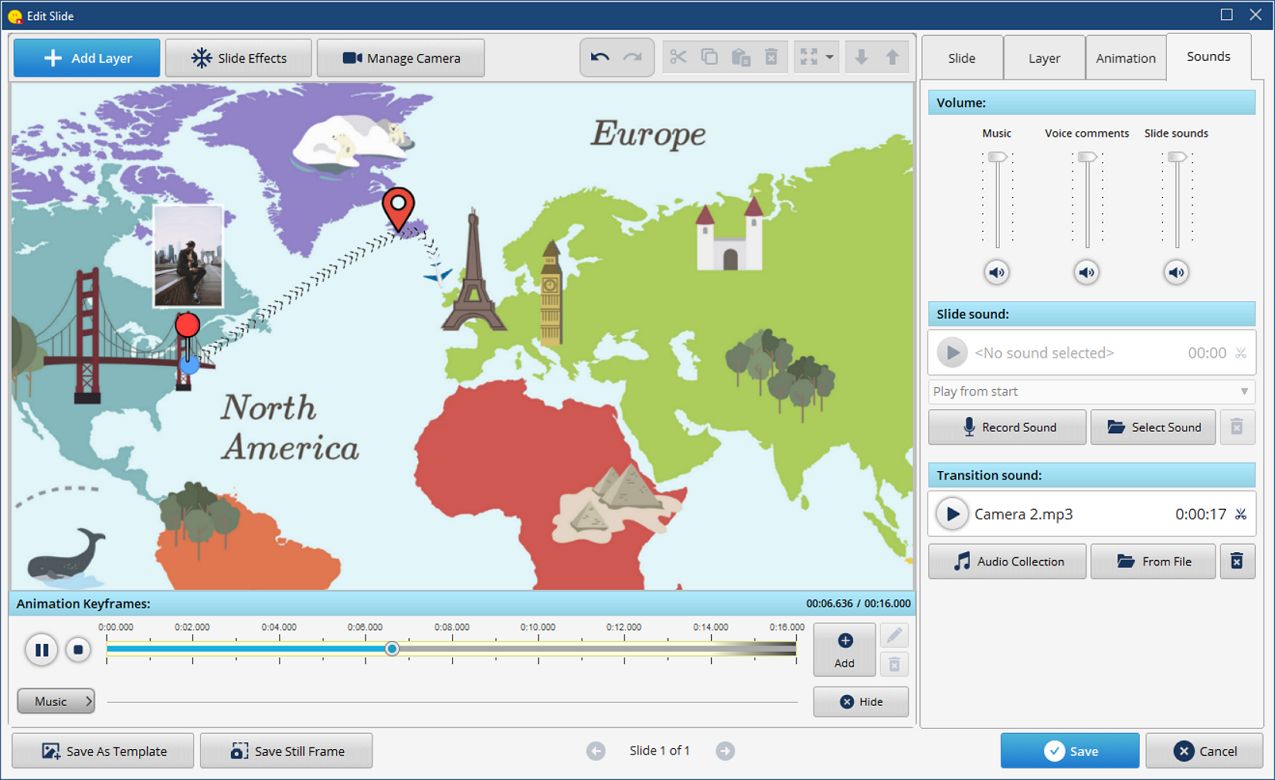
Now, it’s time to check your creation in the preview window. Click the Edit Slide button if you’d like to change something a little bit. Here you can make your travel map more immersive by adding sound effects, such as the noise of a train, a plane, or a camera shutter. Just go to the Sounds tab and explore the Audio Collection. Alternatively, you can spice things up with over 200 royalty-free music tracks from the built-in library via the Music tab.
Step 6. Export Your Project
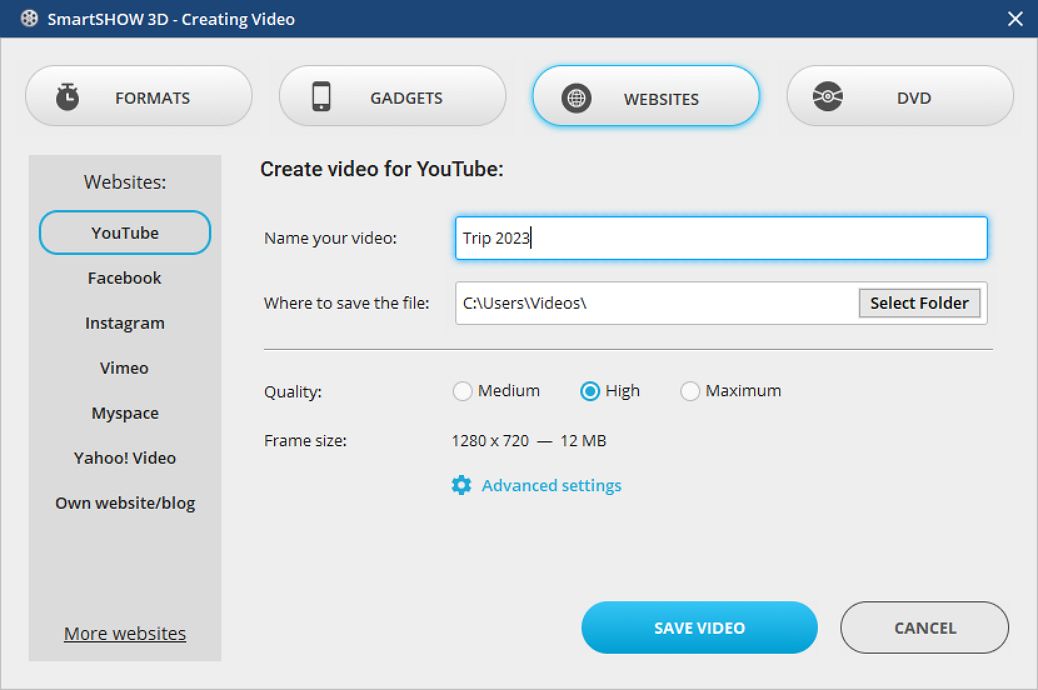
Once everything looks amazing, it’s time to share your creation with friends and family. Click the Create Video button and select the video quality you want and the file format you need from over 30 available options. You can upload it to social media platforms like YouTube, Facebook, and Instagram, burn it onto a DVD, or simply save it on your computer for future enjoyment.
Conclusion
Now you know that creating animated travel maps is a fun way to relive your travel memories. So why wait? Start creating your own map animation today and let your adventures unfold in a dynamic and engaging way! Just follow the steps above and get an exciting video that captures the essence of your adventures. If you want to find out more about travel map animation, check out the article via the link.