Last Updated on February 27, 2024
We’ve all been there – you’re having fun or taking care of an errand when your phone suddenly slips out of your hand or pocket and lands on the ground.
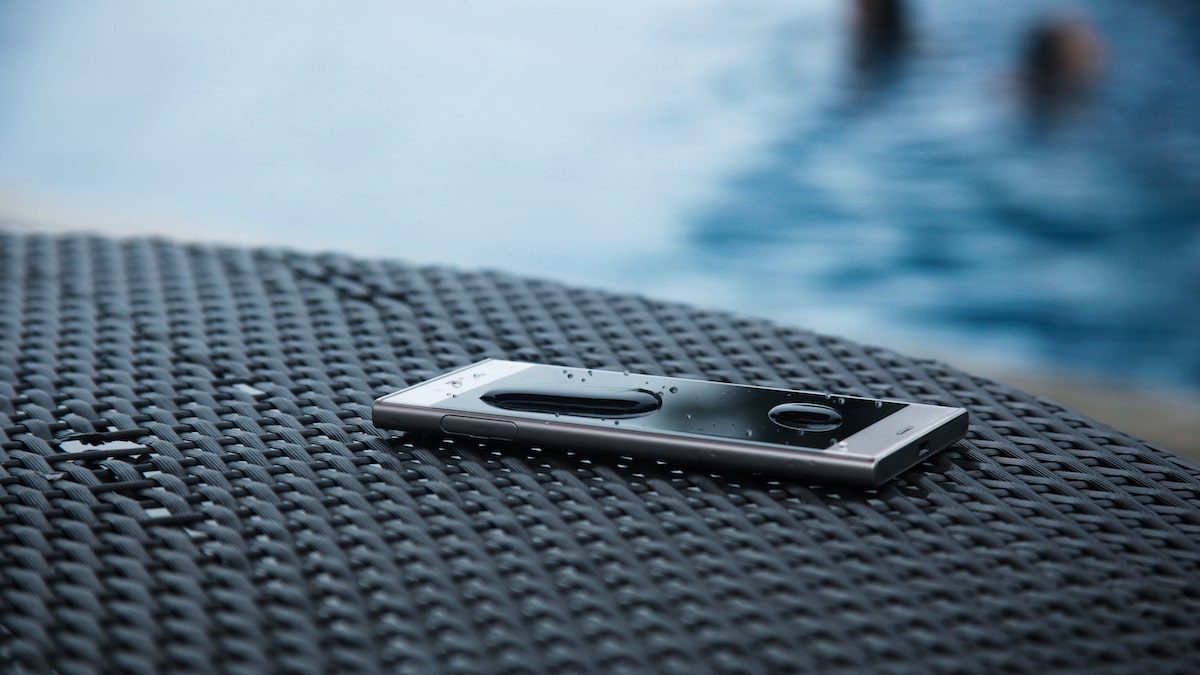
The nature of the ground below will depend on the activity at hand. Your phone could fall on the hard pavement while you’re taking a stroll in the streets or into water while having a fun boat ride. Worse yet, the gadget could land in boiling water or a caustic solution.
Any of these scenarios can leave a phone irreparably damaged. But the most dreadful of all is having your expensive smartphone fall into water or any liquid solution.
Fortunately, there are multiple ways to troubleshoot water-damaged phones without necessarily arranging an unplanned trip to the phone repair shop. Read below for an expert’s guide on how to safely get water out of your phone.
What Parts of a Phone Are Most Susceptible To Water Damage?
Water can damage virtually any part of a phone. These include the screen, camera, charging port, microphone holes, battery, SIM and SIM card slots, processor, and headphone jacks. And the damage doesn’t only come from moisture but also from the active chemicals in the liquid.
However, the most commonly affected parts are the screen, charging port, and the speakers.
It’s important to note that more than 80% of most smartphones comprise metal. So, even if there are no immediate signs of water damage, the moisture can still corrode the metallic elements and render them dysfunctional over time. That’s why it’s important to move swiftly when your smartphone falls into the water.
A Step-by-Step Guide to Removing Water from Your Phone

i. Retrieve the phone fast
This is the most important step as far as getting water out of your smartphone is concerned.
The idea is to retrieve the phone immediately. The longer it stays in there, the more the liquid that will seep into its internal components.
ii. Turn the phone off
Turn your phone off immediately after retrieving it from the water. Resist the urge to shake the device or leave it on to check if it’s working alright.
Remember that inside your phone is a complex system of electrical circuits. Shaking a wet phone or leaving the gadget powered can cause permanent damage due to an electrical short circuit.
Depending on the duration your phone has been submerged, you may also retrieve it when it has already gone off. Do not attempt to reboot or charge the device as it may suffer the same fate of electrical short circuit.
iii. Remove the protective case
Most smartphones nowadays come with protective cases designed to absorb mechanical shocks when the gadget falls on hard ground.
However, this case can hold more liquid if a phone falls into water. So, your best bet is to remove it.
iv. Disassemble the gadget
After removing the protective case, open the back of the phone by unscrewing it or prying it open, depending on the design. If possible, remove the battery, SIM card (s), and microSD card (s).
Note that iPhones generally do not have removable batteries. However, some Androids do. So, check your make and model to determine if you can safely remove the battery.
Check to see if there are any other accessories that you can remove. Be sure not to dismantle the phone beyond your capacity to put it back together.
At this point, you’ve somewhat succeeded in preventing water from working its way into your phone’s internal components.
v. Dry the phone

Using a lint-free piece of cloth or paper towel, thoroughly dab your phone dry. Start with the internal components like the screen and battery, as these often bear the brunt of water damage.
Be thorough but gentle. Avoid rubbing your phone as this could only push more liquid into the sensitive parts.
After you’re done dab-drying each component, set them in the open to let them air-dry. Position the phone such that the charging port is facing downward. Then, do the same for the headphone ports.
You could also give the phone a gentle vacuuming or place it next to a fan. This is particularly recommended if the gadget was fully submerged. Focus on the creases and openings to draw more water out.
However, do not bake your phone in the sun or place it in a clothes dryer, microwave, or hairdryer. Doing so would only cause the phone to overheat, further damaging its sensitive internal parts.
vi. Use desiccants
You’ve probably read many publications recommending using rice to remove water from a phone. However, rice isn’t such an effective desiccant. Besides, the smaller rice grains can get stuck in the ports or other tight spaces. Removing such particles may be another rigorous task altogether.
You’ll have better luck using products like silica gel. To go about it, fill a plastic bag or container with silica gel packets and bury your phone inside it. Seal the bag and let it sit for 24 – 48 hours.
vii. Power your phone
After removing all the water from your phone, switch it on.
If the phone doesn’t turn on right away, repeat the drying steps and try again. You may also want to charge the gadget fully before turning it on.
If your phone manages to turn on, monitor it closely over several weeks. Remember that certain features may not work normally right away.
If your phone doesn’t power back on despite your best efforts, then that indicates severe water damage. Below are some of the tell-tale signs of serious water damage:
• Inability to turn your phone on or off
• The phone shutting down and powering back on on its own
• A distorted or blurry image on the screen
• Unusual sounds or distorted audios from the speakers
• Inability to display images or play sounds
• Inability to charge properly or at all
• Visible signs of corrosion at the charging ports
• Visible moisture behind the screen
• Red or maroon color in the Liquid Damage Indicator (LDI) – commonly found in the headphone jack, SIM tray slot, and battery compartment
• Water seeping from the casing
• Shattered screen or chipped frame (if the phone also hit a hard surface)
Any of the above signs, coupled with the inability of your phone to operate normally, is your cue to take the gadget to the nearest repair shop.
Check if your phone has an active warranty and establish if the warranty covers liquid damage. If yes, then the best place to have the device repaired is at the manufacturer’s local agent.
If not, then you’ll sadly need to fund the repair from your own pockets.
How to Remove Non-fresh Water from Your Phone

Having your phone fall into fresh water is bad enough. But it can be devastating if the gadget happens to have been submerged in muddy, saline, or chemically altered water.
Muddy water is usually a breeding ground for bacteria, which can easily multiply inside your phone. It also tends to be laced with contaminants that could linger in the device much longer. The debris in muddy water can inflict further damage to the delicate internal components of your phone in addition to causing infections if they make contact with your skin.
The best way to clean muddy water from your phone is to give the gadget a quick rinse using clean, fresh water. Then, proceed with the above-listed tips.
Chemically-altered water can also harm your phone beyond the regular damage associated with fresh water. Note that we’re not necessarily talking about high-reacting caustic solutions. A typical example of chemically-altered water is your seemingly harmless chlorinated swimming pool.
If such solutions make contact with your phone, flush the device immediately using clean water and proceed with the above-listed steps.
Lastly, saltwater can be just as hazardous to your phone as any chemical solution. The extent of damage will depend on the specific salts in question vis-à-vis the metallic components used in making your phone. For instance, potassium and magnesium salts are more corrosive than the common sodium salts. It takes only a small amount of potassium coming in contact with your phone to trigger massive corrosion and begin breaking down the device’s internal components.
The only way to save your precious phone from permanent damage caused by salty liquids is to rinse it fast using fresh water. You can then dry up the gadget by following the basic water removal steps listed above. Remember to use protective hand gloves while handling highly corrosive saline solutions.
Taking Preventive Measures

There are several proactive measures you can take to prevent your phone from falling into water.
The most effective of these tips is to invest in a waterproof case. Although not 100% reliable, a waterproof case can significantly reduce water damage to your phone. These accessories are especially useful in the event your phone gets completely submerged. And the good news is that waterproof phone cases are reasonably affordable, with most products retailing between $8 and $30.
The following are other preventive measures to safeguard your phone from water damage:
• Pay attention to where you use the phone, especially while outdoors
• Keep your phone inside a zipped or buttoned pocket instead of carrying it in your hand
• Invest in a tether
• Upgrade to a waterproof phone
• Insure your phone against water damage
Final Word
The best way to avoid water damage to your phone is to prevent the gadget from falling into liquids in the first place. But as the saying goes, “you can never be too careful.”
Fortunately, it’s reassuring to know that you can get rid of water from your phone by following simple procedures. Remember to whisk the gadget to the nearest phone repair shop if nothing happens despite your best efforts.