Last Updated on March 2, 2024
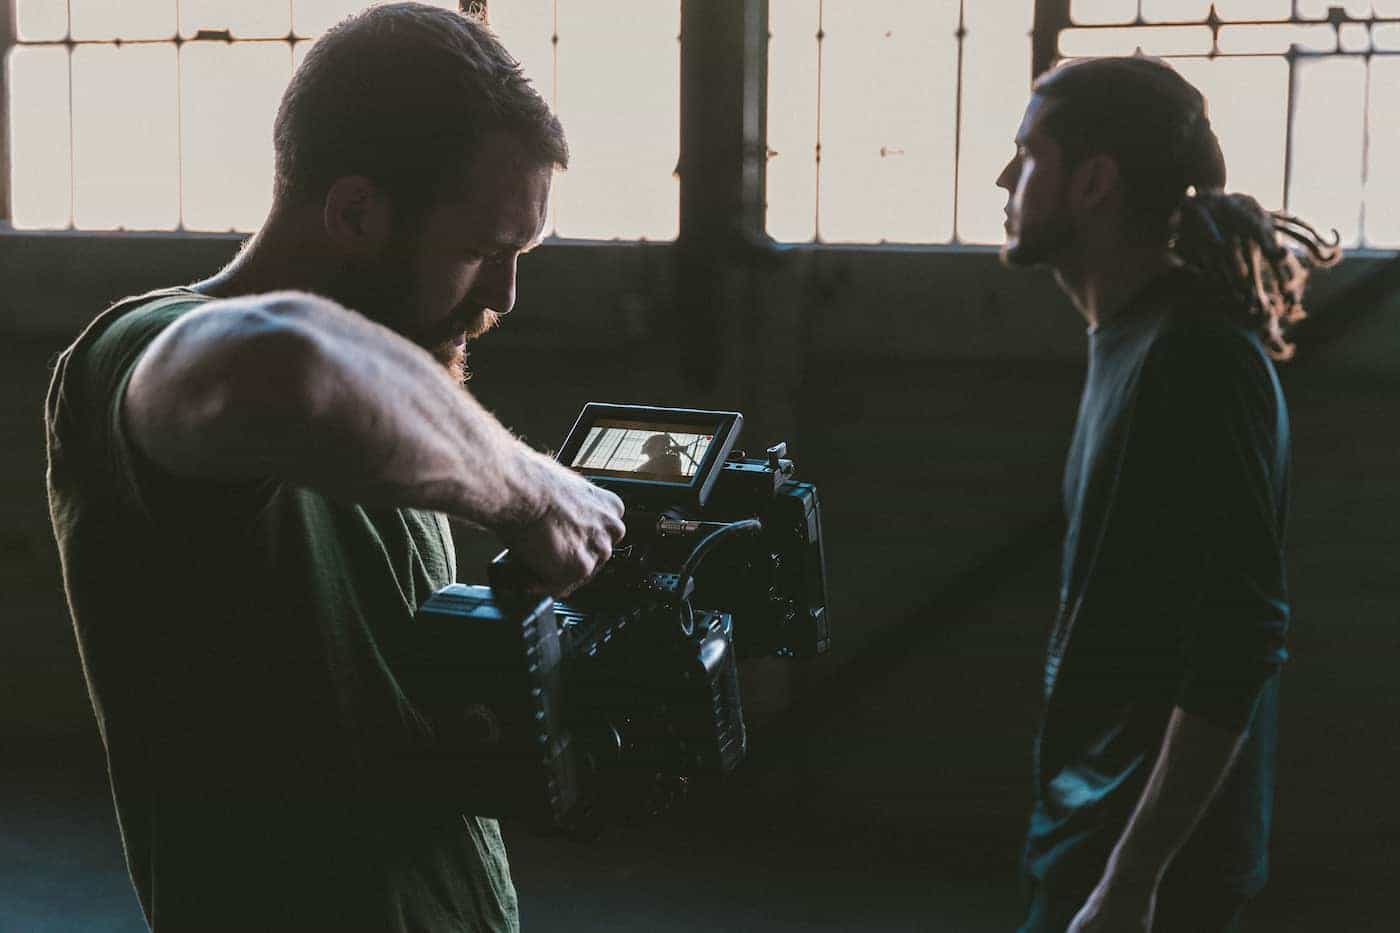
If you want to create compelling videos, you need to be good at videography, the art or process of making video films. It is an art you must invest time to master, especially if you want to do it professionally. In today’s business market, videography has grown to be strongly linked to video work outside films and television. Commonly referred to as a “one-man show,” a videographer is a jack-of-all-trades career that tackles the recording and editing of raw videos to create a story.
The technological improvements from film stock to digital platform helped shape videography as both a career and a hobby for a lot of people. Videographers are usually hired to record footage of different important events and celebrations in people’s lives. The sophistication and innovation of today’s digital world enable a single person to record and edit an entire event. When you learn to master the ins and outs of videography, you can be that person – the one hired to turn real-life moments into memories that can be played back over and over again.
10 Videography Tips for Beginners
Whether you aspire to become a professional videographer or just want to try a new hobby, you must learn the basics of videography. The following tips will help you record videos like a pro and will give them an instant boost in quality.
The Basics
These are the five guidelines that every videographer should put into mind at all times. They are the nitty-gritties on how to record top-quality videos. Failing to follow any of them will result in mediocre output.
1. Keep the Camera Steady
A shaky camera is a clear sign of amateur work. Unless the concept asks for it, shakiness must be reduced to a minimum. If you’re shooting a sports event, some unstable action is to be expected. That being said, excessive shaking will make the viewers abandon your video in the dust.
The best way to avoid a shaky recording is to use a tripod or other forms of camera harness to cut back camera shaking. It’s important to note that though a tripod is an easy solution to avoid shaky videos, you must also avoid becoming dependent on it.
Pro Tip: With practice, you can master shooting steady footage without a tripod or a harness. Position your body in a way that your breathing won’t result in unwanted camera motion. Use your surroundings – the ground, a wall or other stable objects – to brace your camera and get different visual perspectives. Going tripod-free means you can maneuver around a scene without having to be anchored to one area.
2. Always Record Three Types of Shots: Close-Up, Medium and Wide
One of the worst things you can do is to produce a video that looks like stitched-up clips from a surveillance camera. Compelling videos require mastering artistic shooting methods. A newbie videographer has the tendency to capture everything from a corner of the room, far away from what’s happening. But, by positioning yourself in the middle of an action, you’ll capture images that are impossible to get from a distance.
Test different angles. Always make sure to get close-up, medium and wide shots to add variety to your video. You can open up a sequence with a close-up shot, switch to a medium shot in the middle, and then end with a wide shot. The different angles will be a big help during the editing process. Every event or scene you film must have multiple angles (at least 10 per shot), particularly if you’re shooting people.
Pro Tip: Refrain from using the zoom feature to record close-up shots. Instead, move closer to your subject. The zoom feature often decreases the quality of the image.
3. Keep Away from Unnecessary Zooms and Pans
One of the most common mistakes newbies do is zoom at every shot or pan across the horizon. The result of either action can make viewers dizzy. If you’re to record an action scene, let it naturally unfold and dominate your video. Unnecessary zooms and pans will draw attention away from the action. The image also has a tendency to become shaky, particularly on a handheld cam, when zoomed in. Get near the action if you want close-up shots. The images will look a lot cleaner and more professional that way.
Pro Tip: The zoom and pan features are available because they serve a purpose. If you’re going to use them, make sure there is a valid reason behind it. Like in a tennis event, the pro videographers follow the action by following the ball. That is the reason behind tilting the cam up when a player hits the ball or using panning during a double play.
4. Pay Attention to Your Audio
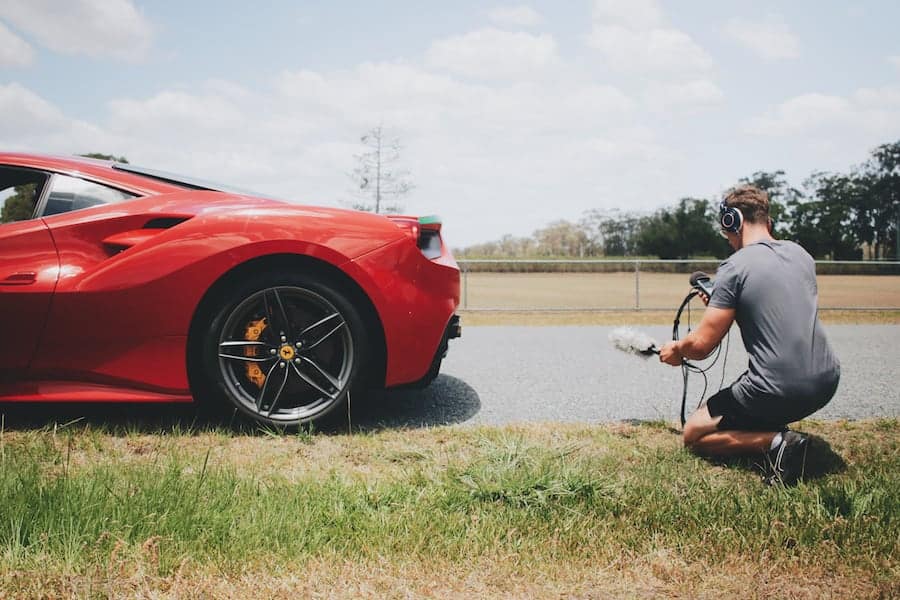
When it comes to sounds, even long-time videographers tend to either forget to record audio or forget to monitor the sound they’re getting. Neglecting the video’s audio means producing a “silent movie” by accident – which means the video is likely 99% ruined. It’s not only the video that is important, but the audio also makes half of the recording. If you’re using an action camcorder, you may have to get a good external mic. In any event., you should be mindful of any background noise that’s being recorded, like the wind or the chitchat of the people nearby. If you’re adding post-production music, take this into account when recording audio.
Pro Tip: Keeping track of audio you’re recording makes it possible for you to avoid capturing unwanted sound clips. The quality of the sound is of particular importance if you’re interviewing someone where even a minor sound glitch can affect the quality of the interview.
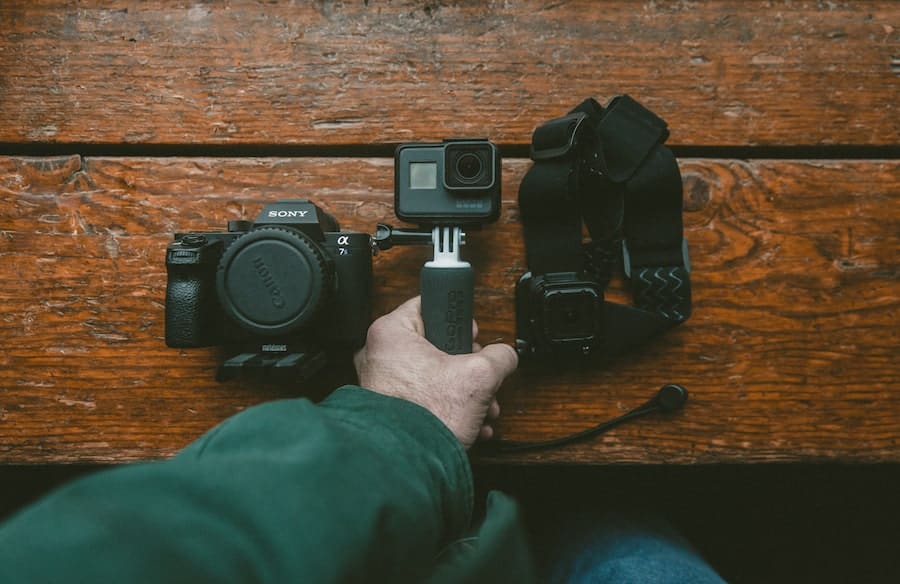
5. Use the Right Equipment for the Job
Most professional videographers have an arsenal of devices and equipment at their disposal. The right kind of mic, handheld camera or camcorder can help a lot in elevating the quality of your videos. It’s important to note though that these videographer’s equipment can only do so much. You must still learn how to use them correctly to maximize their benefits.
Pro Tip: If you’re just starting out, you may not have all the right gear pros use. Work with what you have right now. Then save up and invest in the right equipment for the job.
Editing Process
A lot of people think that video editing is just rearranging video shots and getting rid of the stuff that doesn’t look right. Video editing is that and a LOT MORE. Editing is the central part of the post-production phase. It’s where you communicate with the viewers, not just by the footage you’ve put together, but the emotions they bring.
6. Edit Using a Good Editing Software
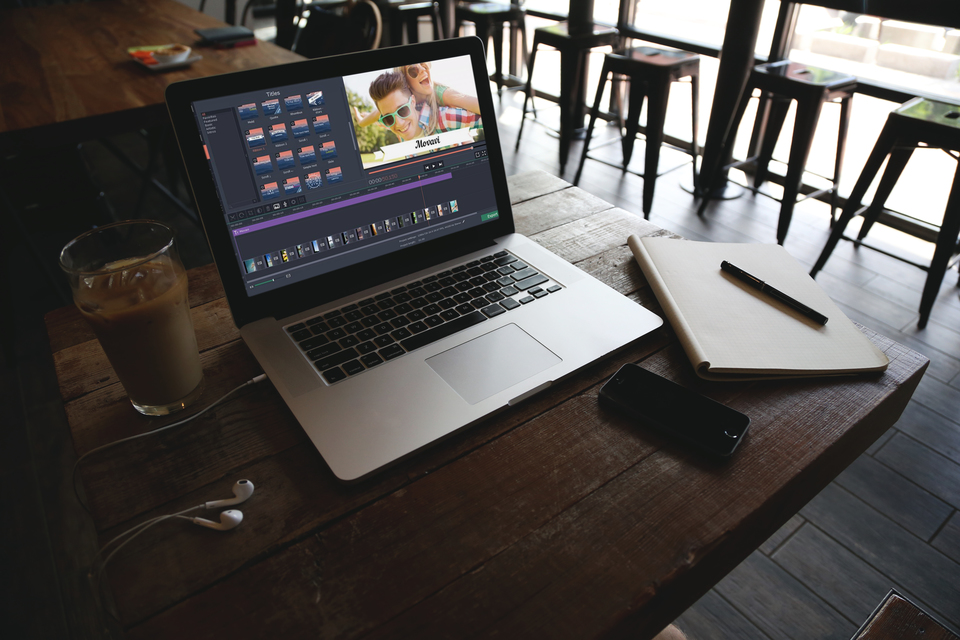
When selecting a video editor, think about the app’s control and your abilities. There are lots of free video editing software to help you practice editing your videos. They range from simple to complex so you can practice at a certain level and move to a different one (or another version) when you master a trick or method. Play with the software as often as possible. The more practice you get, the easier it will be for you to learn the basics and tricks of good video editing.
Pro Tip: If you need a software that has it all, use Movavi Software. These guys are great. They offer simple to use mac and windows apps that allow you to easily capture your screen, edit photos & videos, clean your mac, and converter videos into different formats.
7. Choose the Best Angles for Each Moment
When you review your footage, your objective is to balance the clips (and the story) with the expectations of the viewers (this applies in particular to video interviews). Think about where the viewers would like to look at during different pivotal moments. This will help you pick the best camera angles to reconstruct a moment – which is why multiple angle shots (noted above) are necessary. By planning on the angles, you’re also picking the narrative of the video and how the characters express their version of the story.
Pro Tip: The best shots or angles don’t have to be about the “main characters” all the time. The audience, the surroundings, even the background can be the best angle depending on the flow of the story.
8. Keep Things Moving

Today’s audience has a short attention span. To make a video fun, compelling or powerful, it should be multi-faceted and multi-angled. There’s more dynamic and interest if things move around. It also enriches the story if the camera angle isn’t focused on one area for an extended period of time.
Pro Tip: You must find the balance between keeping things moving and focusing on something monumental. Jumping from one element to another without substance to create a flow is worse than focusing on one thing for a long time.
9. Master the Keyboard Shortcuts
One of the easiest ways to differentiate amateur and professional video editors is to observe just how much they take advantage of their keyboard. Video editors who’ve been in the industry for a while now understand that a matter of seconds saved here or there accumulate over time. If you want to save hours on a project, it’s best to learn how to use keyboard shortcuts.
Pro Tip: There are tons of keyboard shortcuts you can study online. Here’s one of the best options.
10. Work Organized
Name your clips in your software and use the same names on your storyboard. If you fail to name your clips, you’ll up-end with tons of files you have to go through every time you need a particular clip. An organized work will help you save precious editing time.
Pro Tip: You must create a storyboard regardless of how short or long your video is going to be.
To be a master videographer, there are different factors you must do and have. But above all, practicing all the time is the key.